The leads listing feature is designed to help users efficiently manage and track all leads within the system, providing a centralised hub for lead information and facilitating streamlined lead nurturing and conversion processes.
Here's how a typical usage scenario might look:
-
Accessing the Leads Listing: A user logs into the Leads Module navigates to the "Summary" section within the leads module.
-
Viewing the Leads List: Upon entering the "Leads" section, the user is presented with a list of leads.
Each lead is represented as a row with several columns displaying information about the lead.
-
Lead #: A unique identification number for each lead.
-
Name: A brief title of the lead.
-
Company: The name of the company associated with the lead.
-
Email: The email address associated with the lead for communication purposes.
-
Phone: The phone number associated with the lead for contact purposes.
-
Value: The estimated value or potential value of the lead in terms of business opportunities.
-
Tags: Keywords or labels assigned to categorise and organise leads based on common attributes or characteristics.
-
Assigned: The user or team member assigned to manage and follow up on the lead.
-
Status: The current stage or status of the lead within the sales pipeline or lead management process.
-
Source: The origin or channel through which the lead was acquired or generated.
-
Last Contact: The date or timestamp indicating the most recent interaction or communication with the lead.
Actions: Users have the ability to view leads, schedule appointments, modify existing lead information, or remove leads as needed.
Below are the other features available on leads list:
-
Number of Rows to Show Dropdown: This dropdown allows you to select the number of leads entries you want to display on a single page of the grid.
You can choose to display 25, 50, 100 rows, or even view all available rows.
-
Search and Filter Data: This option enables you to search and filter leads data based on specific criteria.
-
Import Leads: The Import Option allows users to efficiently import lead data. Users can download a sample file, complete it, and then upload it. The system checks for errors and displays successful records before proceeding with the upload. Once finished, the imported data seamlessly integrates into the system.
-
Kanban Format: Selecting "Kanban" from the view options menu. The leads list will now be displayed in a Kanban format, with leads organised into columns representing different stages of the sales process. Users can drag and drop leads between columns to update their status or progress. To switch back to the previous list view format, simply select the desired view option from the view options menu.
-
Creating New Leads: Users can click a "New Lead" button to create a new lead. Once created, the new lead would appear in the leads listing.
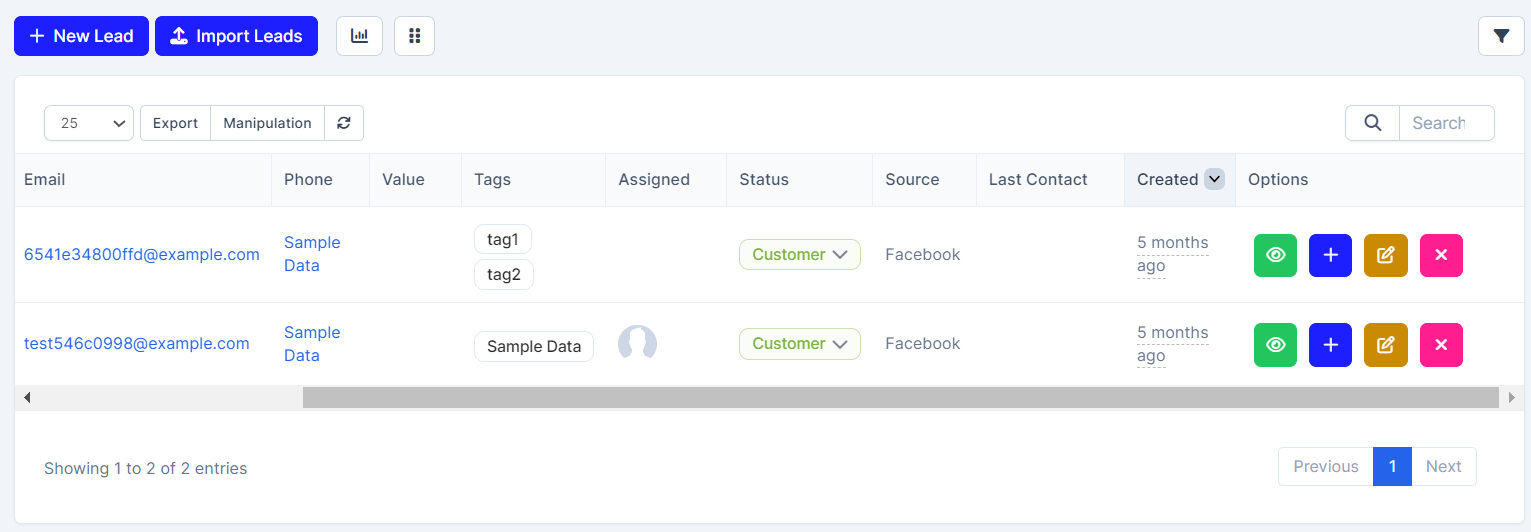
Figure 1 Leads Listing